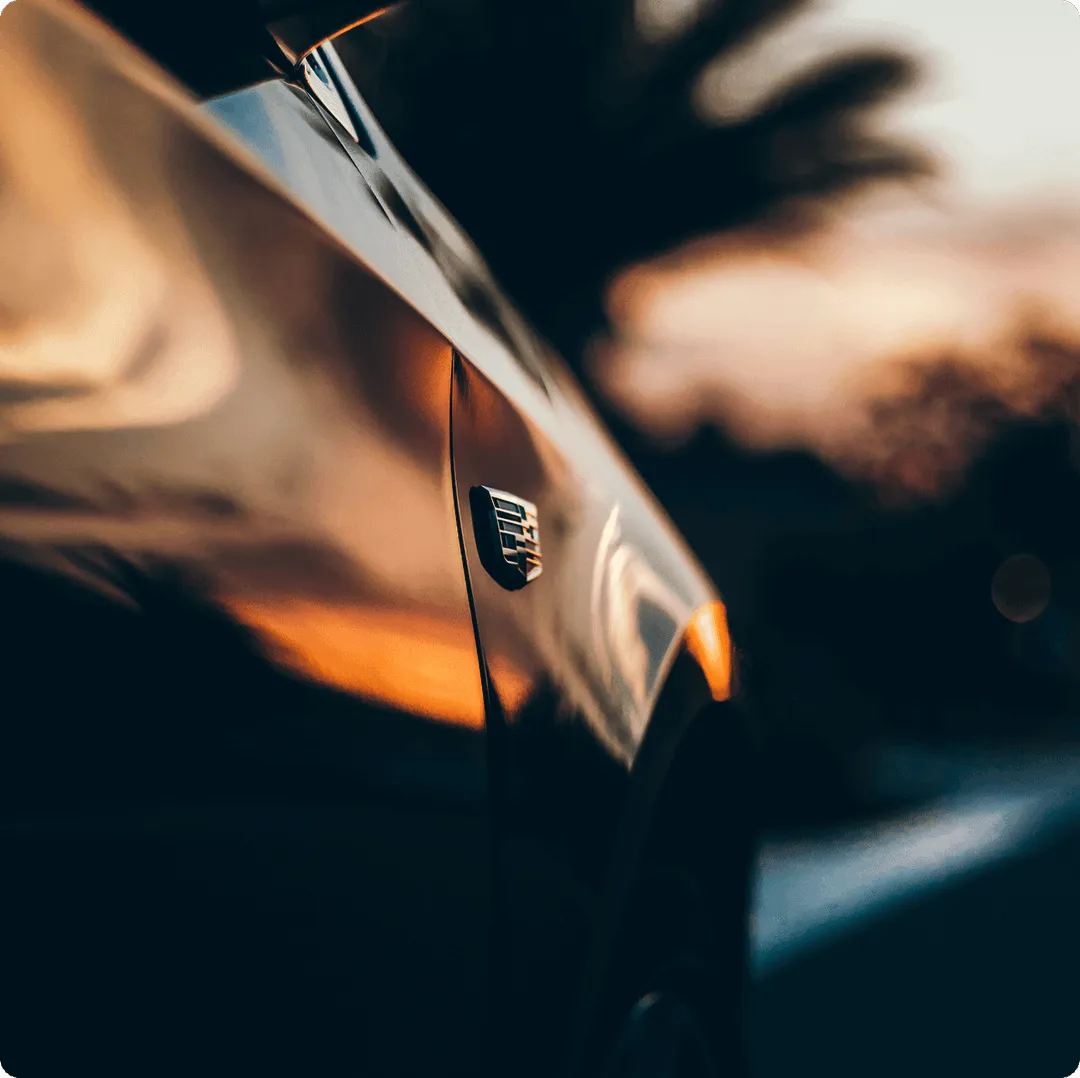
just
repaired;
When your luxury-performance vehicle is damaged, it compromises more than just its appearance—it affects how it drives, feels, and performs. You don't just want a repair—you expect restoration to the highest manufacturer standards. But most shops simply aren't certified or equipped to deliver that level of care. That's why Reborn was born.
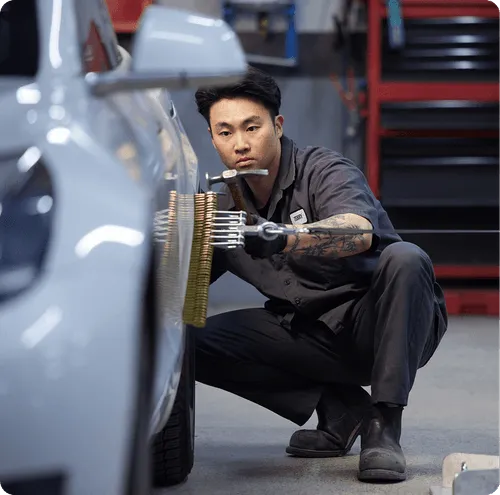
We're certified by the world's leading luxury automakers and trained to deliver precision repairs that restore your vehicle's performance, finish, and integrity. At Reborn, every detail matters—because every detail affects how your car performs and how you feel behind the wheel. From structural repairs and recalibration to flawless paintwork and precision glass replacement, we obsess over every detail. So you don't have to.


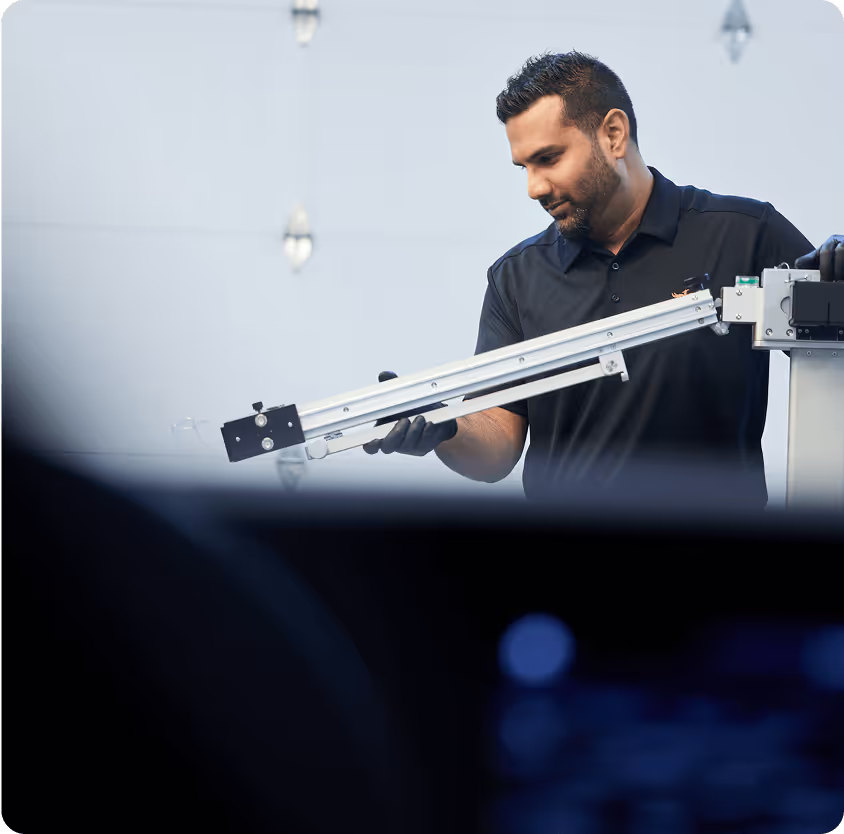
At Reborn, every part of the collision repair experience has been reimagined to meet the expectations of luxury-performance drivers. That means repairs completed by certified technicians using the latest manufacturer-approved tools and processes. It means a facility equipped with state-of-the-art technology. And it means world-class service that starts the moment you reach out.

Reborn comes to you
Our Mobile Service, BORN READY™, means you don't have to visit our locations in person. We can arrange a tow, a ride, a rental, or provide guidance when you need it most.
Prefer to kick it old-school? That's ok.
In-person assessments are available across Metro Vancouver.
WARRANTY
Reborn Autobody stands behind every job we do with our Limited Lifetime Guarantee. Our warranty gives you peace of mind for as long as you own your vehicle. Our modern Collision Repair Centres are equipped to handle any repair work, from minor scratches to complete structural repairs for today's most complex luxury performance vehicles.
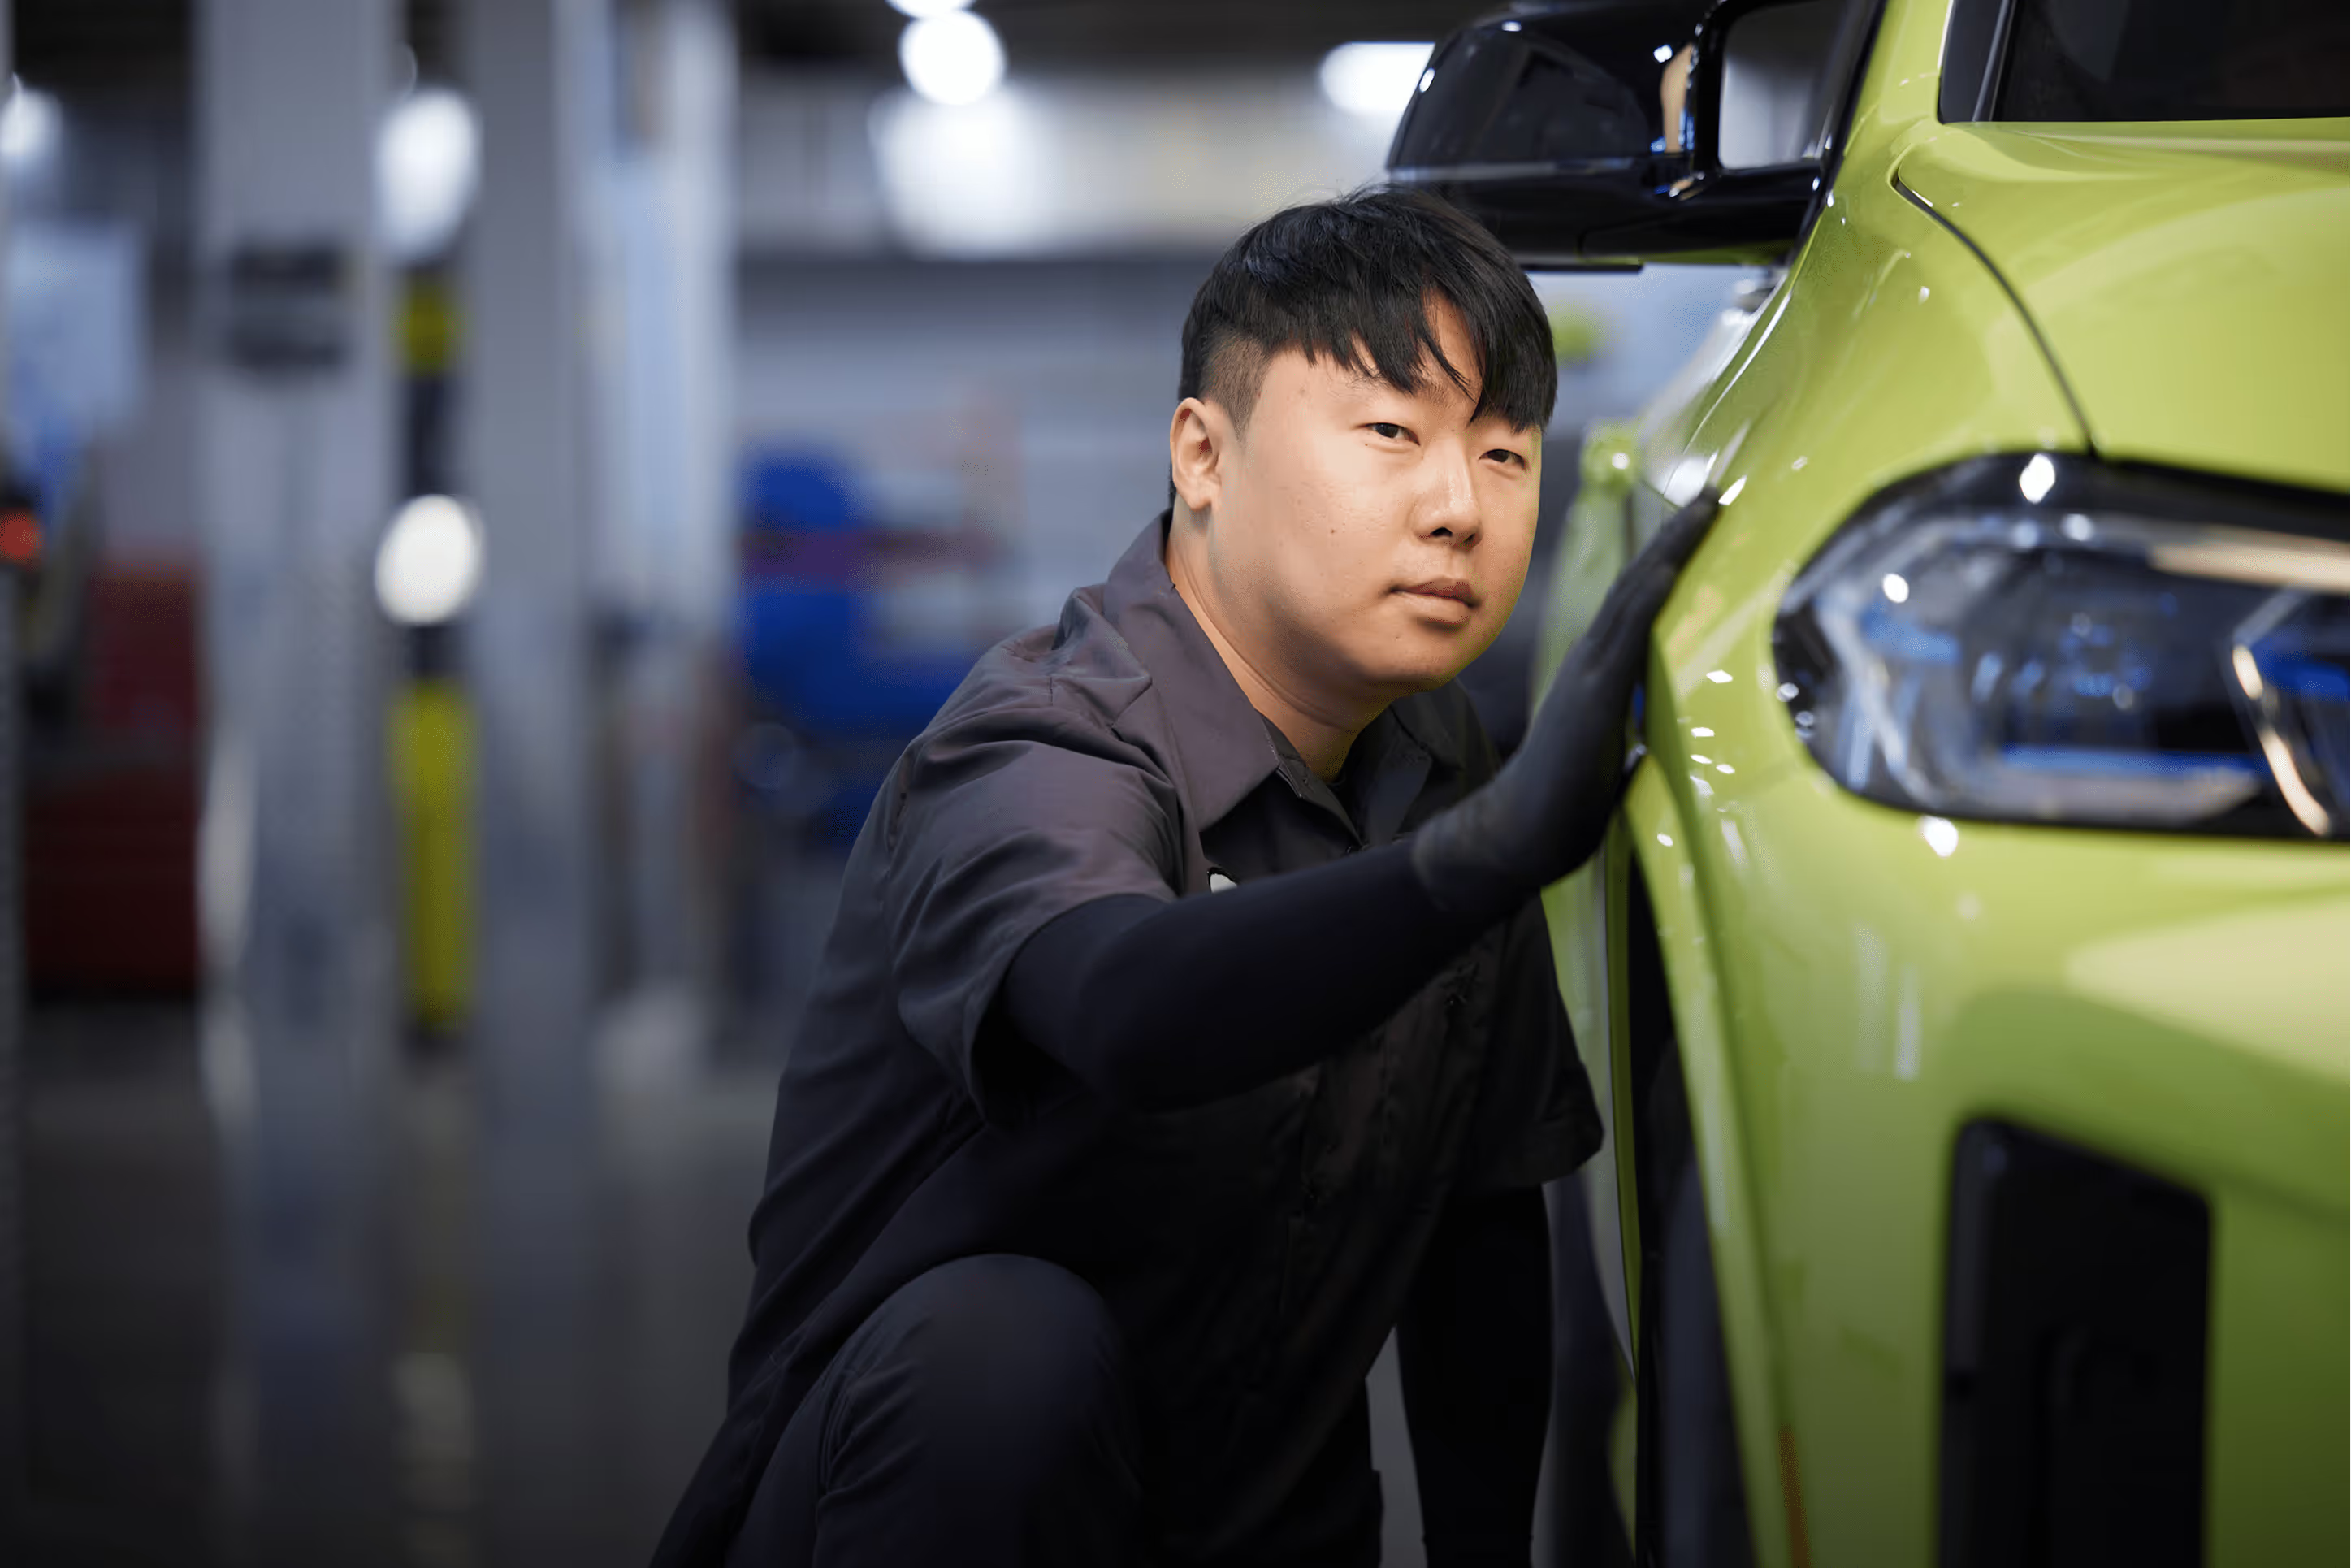
Repair Estimate

Driving Change
When you choose Reborn to repair your luxury performance vehicle, a portion of every dollar earned supports the Children and Youth of BC through our foundation, Kirmac Cares for Kids. Thank you for helping us help the kids.


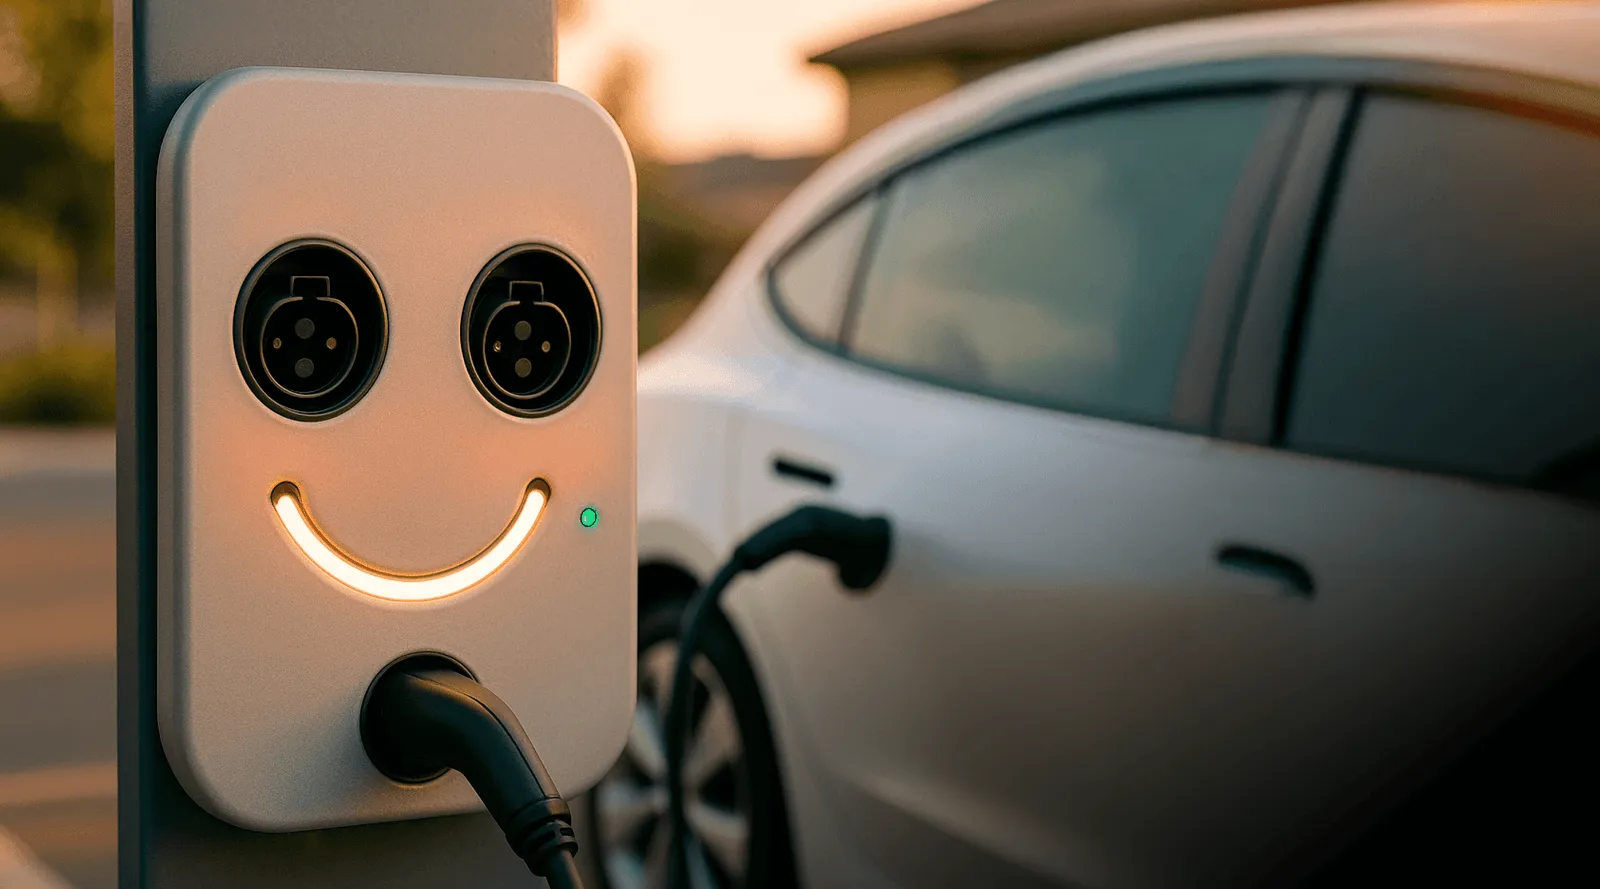
ELECTRIC VEHICLES
At Reborn, we are EV repair experts. From bodywork to battery systems, your electric vehicle is in good hands.
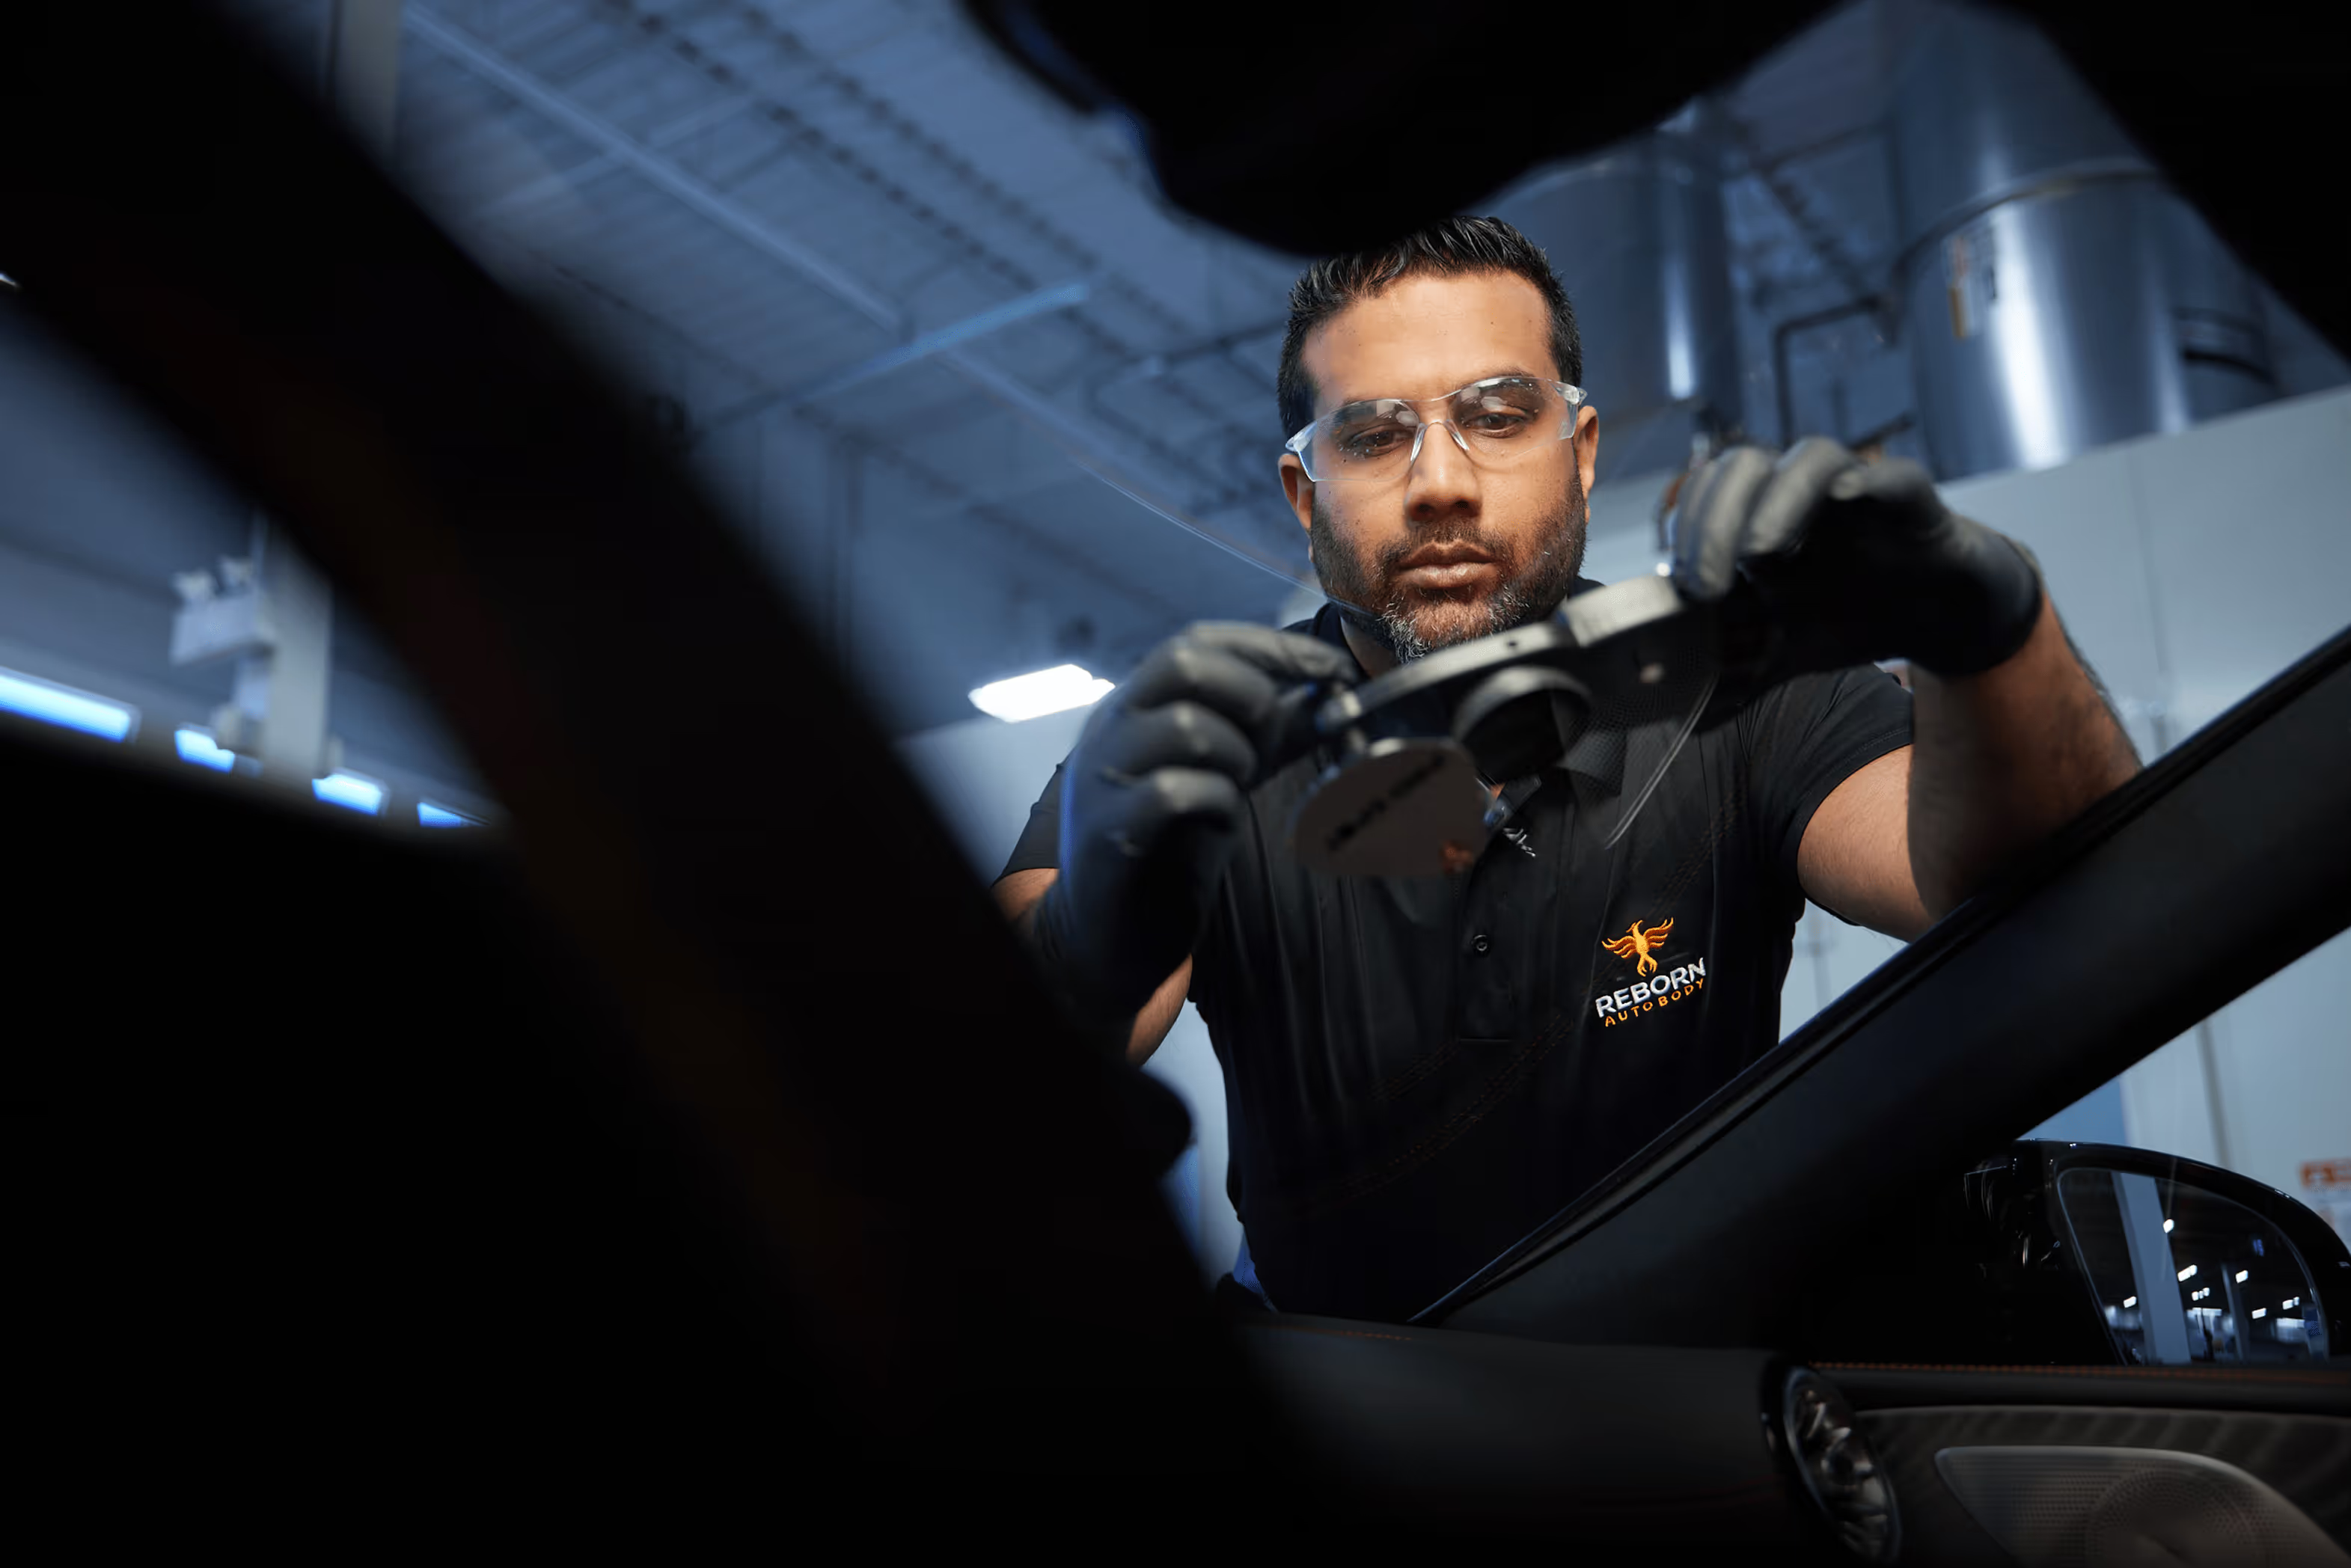
Same-Day Glass Repairs
Got a chipped or cracked windshield? Reborn’s Auto Glass Specialists are ready to help. Our skilled technicians will get you back on the road fast—delivering expert repairs and a hassle-free experience.
GetTING Started
Dealing with the aftermath of an accident can be stressful and time-consuming. But it doesn't have to be! That's why we created our BORN READY 24-hour Mobile Service and easy 3-step repair process. If you've been in an accident but your vehicle is still roadworthy, follow these simple steps.
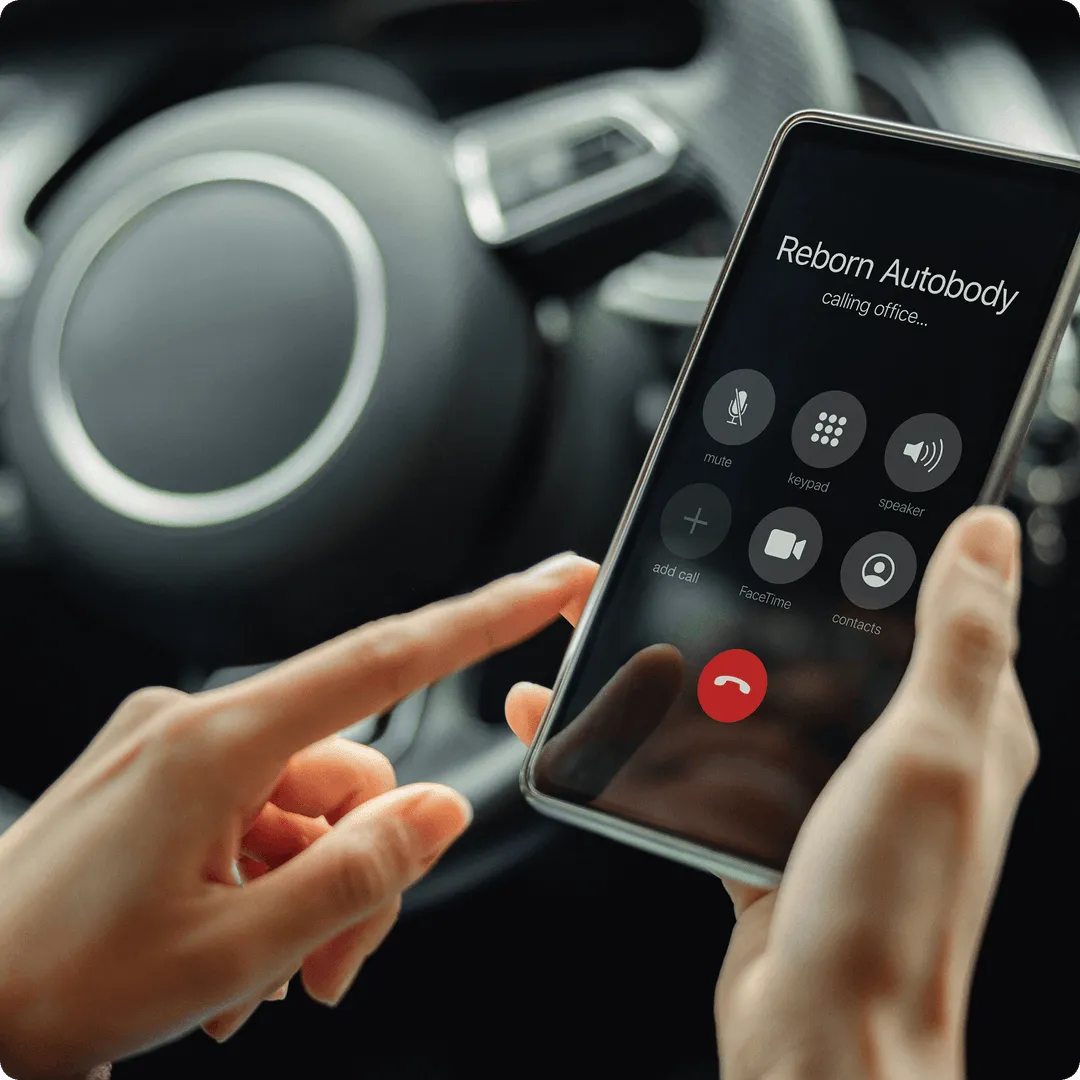
1. Call Reborn
STEP ONE
We'll review the details of your claim with you and schedule an appointment for an in-person damage assessment with one of our Mobile Repair Estimators.
2. We come to you.
STEP Two
Our BORN READY Mobile Team member will visit you to plan your repair and order the necessary parts, all at a time and location convenient for you.
3. You get back on the road.
STEP Three
Once your repairs are authorized and the parts have arrived, we will collect your vehicle for repairs and deliver your replacement vehicle.
CAREERS
Reborn is home to a close-knit repair team with a common purpose. To get you back on the road as soon and safely as possible. And benefit our communities along the way. We're always looking for like-minded people to join our team.

PEACE OF MIND
At Reborn, we don’t just fix your car—we restore its integrity, performance, and your peace of mind. You leave with confidence, pride, and the quiet satisfaction of knowing every part of your repair was handled exactly as it should be.
TRUST REBORN
Poor panel alignment, mismatched paint, or missed recalibrations may not show up right away, but they will show up. And when they do, your car's performance, appearance, and resale value could take a hit. Worse still, it could affect your safety. Don't take that risk. Trust your vehicle to Reborn.
REBORN REVIEWS
Cheri, Audi A3
Douglas, CadIllac CTS
Kimberly, Tesla Model 3
Tammy, Audi A5
At Reborn, we don't just fix what's broken. We restore what matters: performance, precision, and confidence. From the moment you hand over the keys to the moment you retake the wheel, you'll know you made the right choice. Repaired is what most shops offer. Reborn is what your vehicle deserves.


