Minor windshield cracks are a common problem for car owners, often caused by road debris. Left untreated, these small cracks can quickly expand, compromising the windshield’s structural integrity and leading to costly replacements. Thankfully, with the right tools and a bit of patience, you can fix these cracks yourself.
This blog explains why timely windshield crack repair is essential and provides a step-by-step guide to repairing cracks at home.
Necessary Tools for Repairing a Windshield Crack at Home
Before you begin repairing a windshield crack, gather all the necessary tools. These items are typically included in a standard windshield repair kit, which can be easily purchased:
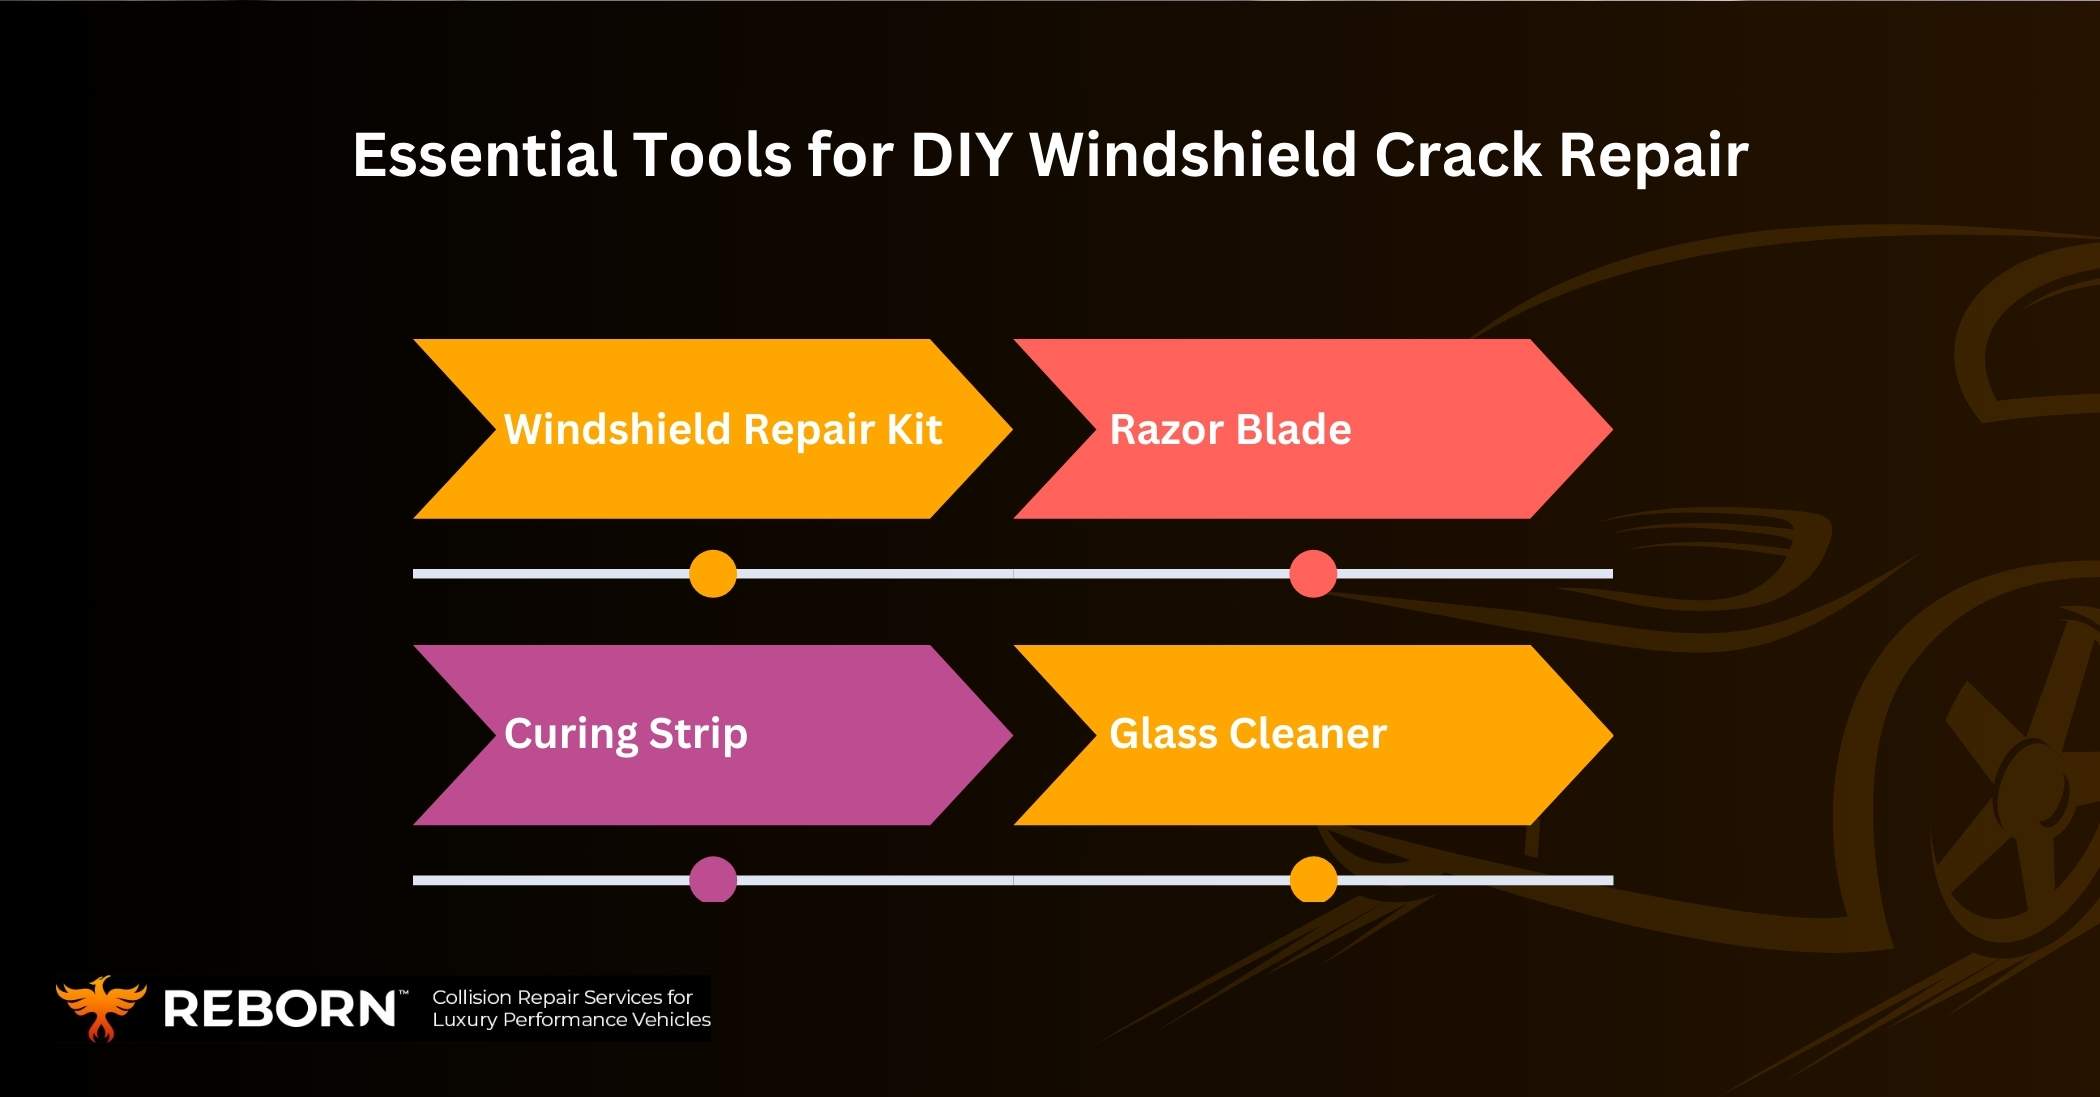
- Windshield Repair Kit: Includes resin, applicators, and curing strips essential for the repair process.
- Razor Blade: Helps to remove debris and excess resin for a clean, professional finish.
- Curing Strip: Ensures the resin sets properly, protecting it from contaminants.
- Glass Cleaner: Prepares the surface by removing dirt and debris for optimal resin adhesion.
Having these tools ready will make the repair process smooth and effective.
Step-by-Step Guide to Windshield Crack Repair
Repairing a windshield crack at home requires a systematic approach to ensure effective results. Follow these steps for a smooth and successful repair process:
Step 1: Clean the Affected Area
Use a glass cleaner to remove dirt, dust, and debris from the crack and surrounding area. This ensures proper adhesion of the resin and prevents a subpar repair. Allow the area to dry completely before proceeding to avoid trapping moisture.
Step 2: Prepare the Windshield Repair Kit
Unpack your windshield repair kit and carefully read the instructions. Most kits include resin, an applicator or syringe, and a curing strip. Familiarize yourself with these tools and their specific uses to ensure a seamless repair process without interruptions.
Step 3: Apply the Resin
Using the applicator or syringe, carefully inject resin into the crack. Ensure it penetrates deeply to fill the crack completely. Apply consistent pressure to allow the resin to flow smoothly and bond with the glass, restoring its strength and preventing the crack from spreading.
Step 4: Eliminate Air Bubbles
After applying the resin, inspect the crack for air bubbles. Use the syringe or gently tap the area to remove any trapped air. Air bubbles can weaken the repair, so this step is crucial for a durable and clear finish.
Step 5: Place the Curing Strip
Lay the curing strip over the repaired area immediately after removing air bubbles. This strip protects the resin from contaminants and ensures it sets evenly. Press it down gently to secure it in place and prevent excess resin from oozing out.
Step 6: Let It Cure
Move your car into direct sunlight or use a UV lamp to cure the resin. The curing process typically takes 30 minutes to an hour, depending on the UV intensity. During this time, the resin hardens, restoring the windshield’s clarity and structural integrity.
Step 7: Remove the Curing Strip and Excess Resin
Once the resin has fully cured, carefully peel off the curing strip. Use a razor blade to scrape away any excess resin around the repair site, being cautious not to scratch the glass. A steady hand will leave a smooth, flush surface, giving the repair a professional finish.
What is the importance of repairing windshield cracks at home?
Repairing windshield cracks promptly prevents small cracks from expanding into larger ones that compromise the structural integrity of your windshield. Factors like temperature changes, road vibrations, and air pressure fluctuations can quickly turn a minor crack into a major issue, making driving unsafe and increasing the need for costly replacements. With user-friendly windshield repair kits that include essential tools and clear instructions, you can conveniently address minor damage at home.
Quick repairs maintain your car’s visual appeal, ensure clear visibility for safe driving, and prevent further deterioration. Additionally, tackling the repair yourself provides a sense of accomplishment and confidence in maintaining your vehicle. By acting promptly, you protect your windshield, save time, and avoid unnecessary expenses.
DIY windshield crack repair may be a good idea but it’s too much of a headache!
The better and easier way is to contact Reborn Autobody to have it fixed professionally.

Can you fix a long cracked windshield at home with superglue?
Using superglue to fix a long windshield crack is not recommended as a permanent solution, but it can work as a temporary fix in emergencies. Begin by thoroughly cleaning the crack and surrounding area with rubbing alcohol or soap and water to remove any dirt or debris. Once the area is clean and dry, use a dropper to carefully apply a small amount of superglue into the crack.
This method helps prevent the crack from spreading temporarily but does not restore the windshield’s structural integrity. For a safe and long-lasting repair, it is essential to use a proper windshield repair kit or consult a professional as soon as possible.
Conclusion
DIY windshield crack repair offers a cost-effective and convenient solution for minor damage. By using a reliable windshield repair kit and following the proper steps, you can prevent small cracks from expanding, maintain your windshield’s integrity, and ensure clear visibility. Acting promptly not only saves you the expense of a replacement windshield but also enhances your car’s safety and appearance.
For professional care, Reborn Autobody is your trusted destination for all auto glass needs. Our skilled team specializes in windshield repair and replacement, ensuring your vehicle is road-ready quickly and safely. Whether it’s a minor crack or extensive damage, we provide expert solutions tailored to your needs.
Don’t wait—book your windshield repair with Reborn Autobody today and drive with confidence!


